AWS EBS Volmes - Create and attach the EBS volume with mounting

Create Volume from console
- Login to AWS console
- Goto menu Services -> Compute -> EC2 -> In Left Sidebar under Elastic Block Store -> click on Volume -> Create Volume
- Fill the following parameter

Attach a volume
- Select the created volume, right click and select the “attach volume” option.
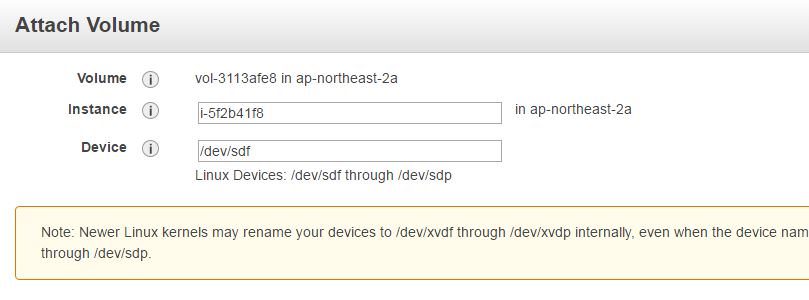
Note: Volume and EC2 instance need to be in the same availability zone.
Mount to the folder
-
Now, login to your ec2 instance and list the available disks
`lsblk’
The above command will list the disk you attached to your instance
-
Check if the volume has any data
sudo file -s /dev/xvdfor `sudo file -s /dev/nvme1n1’If the above command output shows “/dev/xvdf: data”, it means your volume is empty.
-
Format the volume to ext4 filesystem
sudo mkfs -t ext4 /dev/xvdforsudo mkfs -t ext4 /dev/nvme1n1 -
Create a directory of your choice to mount our new ext4 volume. I am using the name “/var/avolume”
mkdir -p /var/avolume -
Mount the volume to “/var/avolume” directory
mount /dev/nvme1n1 /var/avolumecd into newvolume directory and check the disk space for confirming the volume mount.
 cd /var/avolume
 df -h .
The above command would show the free space in the newvolume directory
-
To unmount the volume
unmount /dev/nvme1n1